
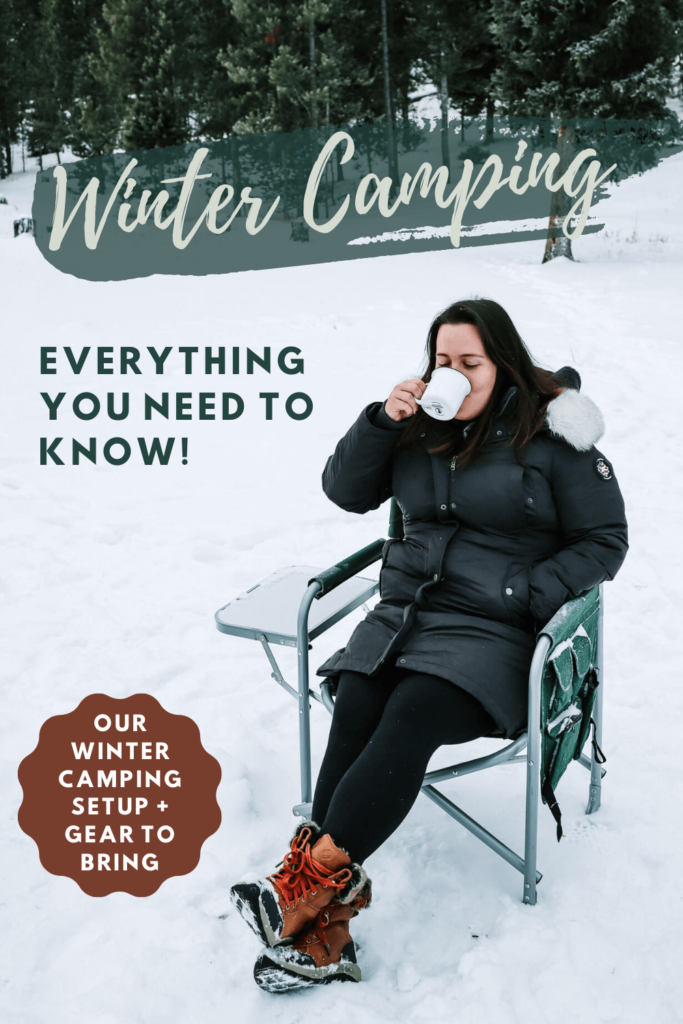
I’ve told a lot of people about our winter camping trip we took recently and almost everyone’s reaction was the same. “You went camping…in the cold…?” YES!
I’ll admit, I was VERY nervous going into it. The thought of being in a completely remote location, in the middle of a national forest, without cell service, and with Wyoming wildlife all around us was…a bit scary. However, I knew Austin had done a ton of research on how to keep us warm and I was pretty sure the bears would all by hibernating. So, my two biggest fears were taken care of!
If you prepare before you go and bring the right gear with you, winter camping doesn’t have to be cold. You can be warm and cozy in your tent and have views of beautiful snow-covered landscapes right outside! This winter camping guide will tell you everything you need to know before go.
Disclaimer: This post contains affiliate links which means I make a small commission if you buy something from them! I never recommend anything I don’t use and love myself.
Our Winter Camping Setup
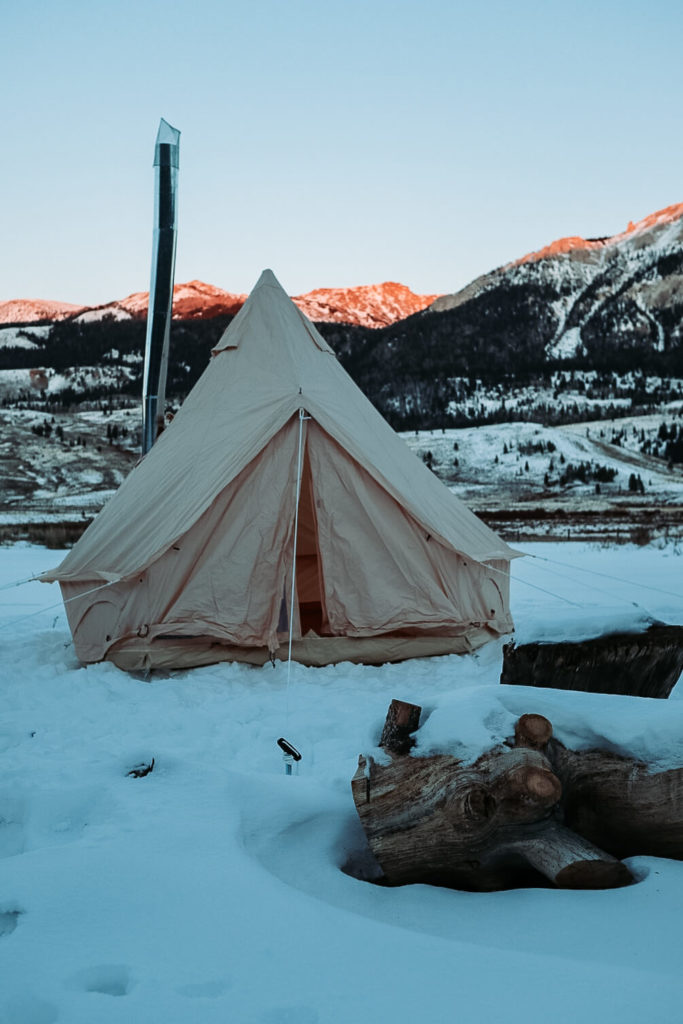
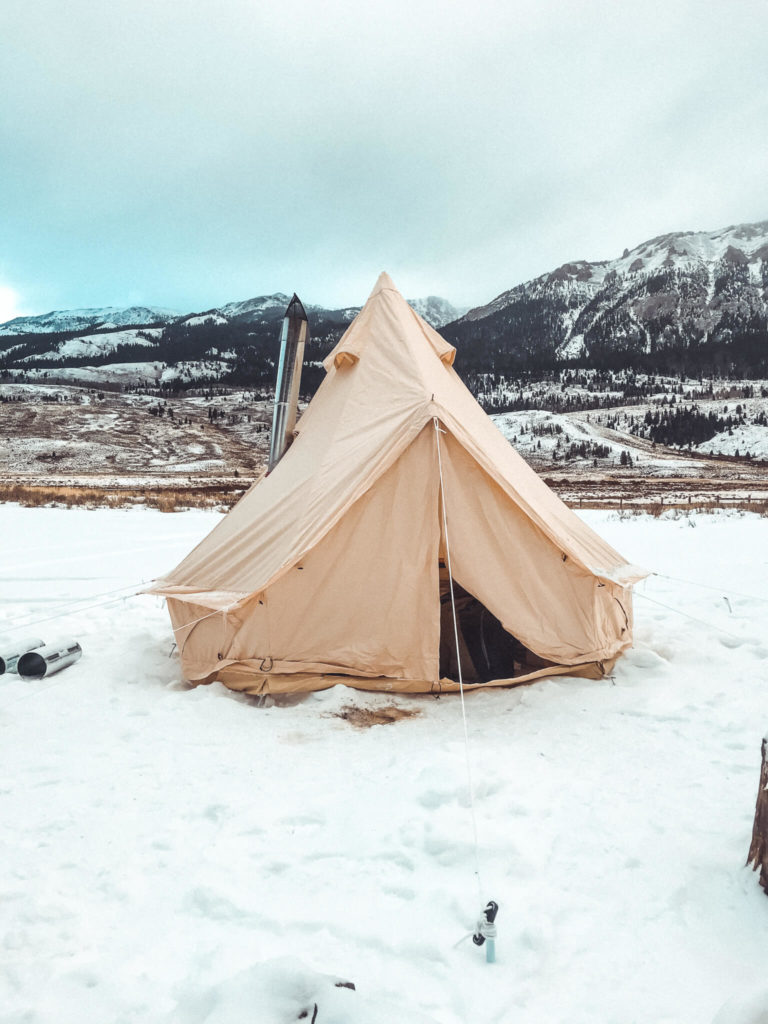
Winter camping tent
There are a lot of ways you can keep warm when winter camping – this is just how we chose to do it. We bought a winter camping tent which is pretty much just a regular tent with a hole in the top. That hole is for the chimney of a wood burning stove which would keep us warm.
I’m extremely happy with the tent we got, but I’m sure there are many out there that will do the job. A couple things to make sure of before buying one:
- If you’re using a wood burning stove, the tent should have a hole in the top big enough to fit your stove’s chimney almost perfectly. The hole should also be surrounded by fireproof material because the chimney gets pretty dang hot.
- Make sure there are areas of ventilation throughout the tent. There were times where the airflow wasn’t perfect and the tent would get very smokey. Our tent has ventilation at the very top, but it also has 4-5 areas around the bottom that we can unzip to ventilate if necessary.
- Get a bigger tent than you think you need. We JUST fit in our tent with our cots and the wood burning stove. Depending on how big your stove is, it’ll likely take up quite a bit of space. You also don’t want to be even close to touching it when you’re sleeping because it will be VERY hot. So, give yourself enough room to lay down without worrying about that.
Check it out: The exact tent we have
Wood burning stove
Not only was I very happy with our tent, but I think our stove was an amazing buy as well! It was large enough to heat our small space very quickly and keep the fire going for at least 1-2 hours. It was also small enough not to make it too hot in the tent or take over too much space.
Keep in mind that with this setup, you’ll have to wake up throughout the night to put wood on the fire. If you don’t, the fire will burn out and you’ll wake up to a very cold tent! This is why buying a very small wood burning stove might not be the best idea. The smaller the stove, the more often you’ll have to wake up to put wood on the fire.
The first night, we set an alarm for every 1.5-2 hours to wake up and add wood. The second night, we didn’t set any alarms and I just woke up from being cold every time the fire went out. So, whenever I woke up, we started a new fire.
Check it out: The exact wood burning stove we have
Winter Camping Gear

I won’t list out ALL of our camping gear here because that would be a long list. Instead, here are the things I’d consider bringing specifically if you’re camping in the winter.
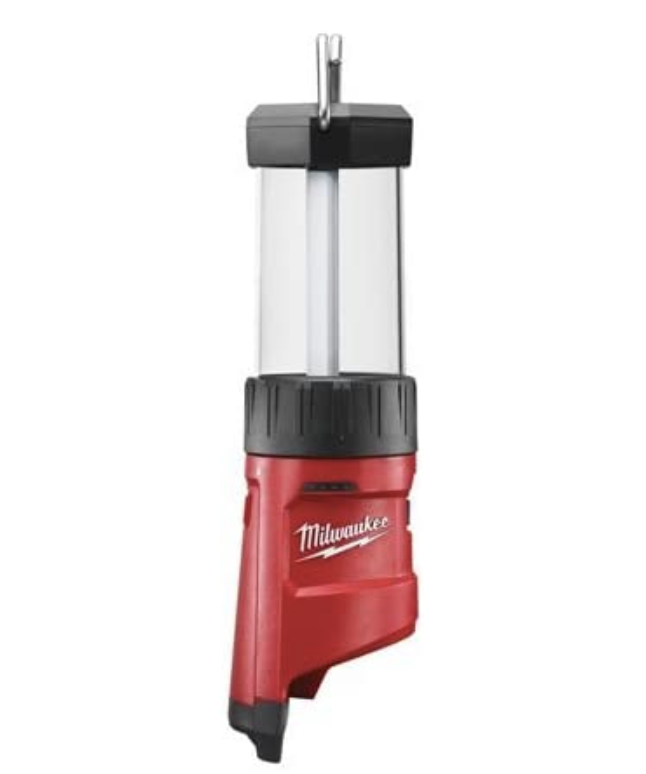
Lantern
As we all know, winter days are much shorter than summer days. Where we were camping, it got dark around 4:30 or 5pm. We definitely weren’t ready to go to bed at that time, so we were happy we brought a lantern with us to light up the tent after dark.
Wood
This is likely a camping essential regardless of the time of year. However, in winter, it’s a bit more important since it’ll be what’s keeping you warm. You can pick up bundles of wood from just about any grocery store and some gas stations.
If you’re getting a regular bundle with 6-8 pieces of wood, I’d suggest getting 4-5 bundles per night. I know that seems like a lot, but we brought 8 bundles with us which we thought would last 4-5 nights….and then we used 5 bundles the first night. After we got the hang of the airflow down, we were able to use 3 bundles the second night with a slower burning fire. It’s much better to have more than you need than run out!
Fire extinguisher
This is incredibly important if you’re going to be using a wood burning stove. While these stoves are relatively safe and your tent should have fire resistant material where the stove touches, there’s always a tiny chance of a fire starting. I’d suggest buying a small fire extinguisher and keeping it in an easy-to-reach-place inside the tent.

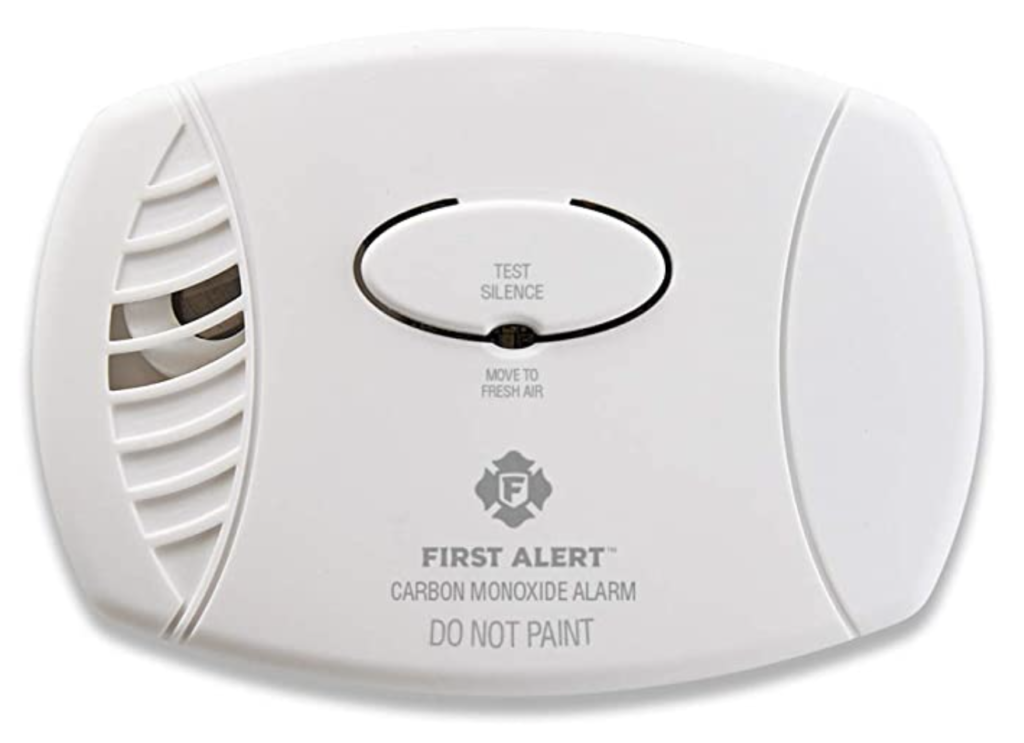
Carbon Monoxide Detector
This is a similar just-in-case precaution as the fire extinguisher. You should be fine, but this isn’t something to risk. Carbon Monoxide is formed by the incomplete combustion of fuel. This means that when a fire isn’t receiving enough oxygen, that’s when carbon monoxide is present. Chances are, if carbon monoxide is formed, it’ll go right up the chimney and out of the tent. However, the gas is odorless and colorless, so it can really only be detected by a carbon monoxide detector. This little thing could save your life.
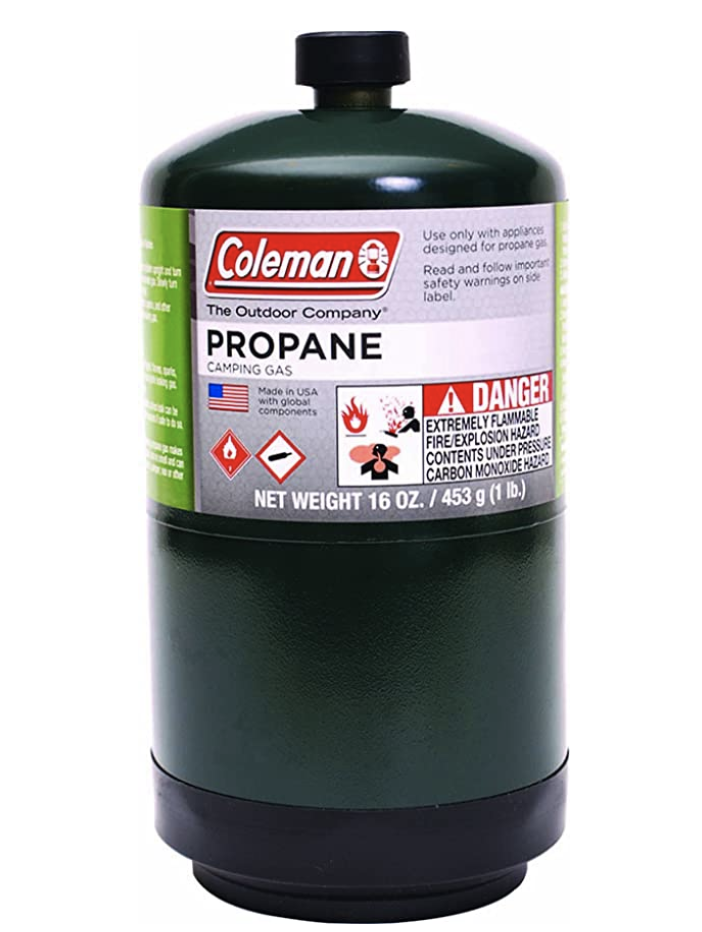
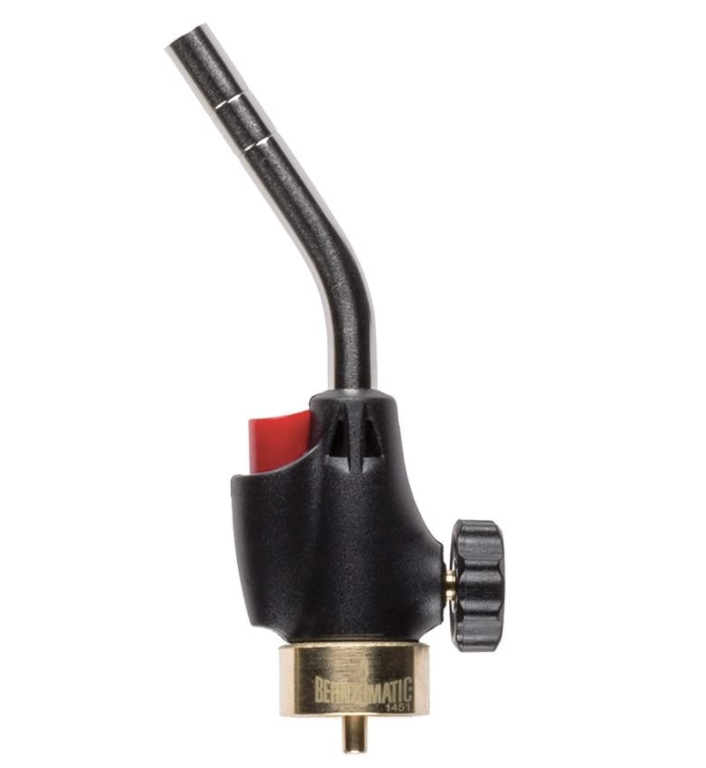
Blow Torch
Remember how I said our second night camping, we didn’t set any alarms, we just waited until we woke up from being cold and started a new fire? Well, we were able to do this because of Austin’s mini blow torch. He took a small propane canister and added a blow torch attachment. With this, we were able to start a fire in no time!
Cots
Even though your tent will be warm from the wood burning stove, the ground will still be stark cold – especially if you’re tent is sitting on snow. I’d highly recommend getting a cot for each person to lift yourself off the ground and away from the cold. On top of the cot, you can either use a sleeping bag (like Austin) or bring blankets and pillows (like me!).
These also give you a lot of storage space underneath them to keep things tidy in your tent!
Fire-resistant blanket
While the bottom of our tent was fire-resistant, we still wanted some extra protection under the wood burning stove. So, we brought a fire-resistant blanket with us to put under the stove. It also worked out well to catch all the wood chips that fell off the pile of wood we had in the tent.
Ash bucket
This is something we didn’t bring with us, but we will next time. Learn from our mistakes! If you’re burning enough wood that the bottom of the stove fills up with ashes, you’ll need a way to scoop those ashes out of the stove and out of the tent.
Welcome mat
This is another thing we will bring with us next time. This isn’t just a decorative accent to your tent! You’ll find out quickly that going in and out of the tent will track a lot of snow inside. A couple of welcome mats (one inside and one outside) should help minimize the snow and water you have to deal with inside your tent.
For more camping essentials, check out our Truck Camping 101 post! We brought a lot of the same gear with us this time, too.
How to Find a Spot to Winter Camp
Finding a spot to camp proved to be the trickiest part of this trip! We are so used to choosing a hotel online, picking our dates, and driving directly to that hotel. Winter camping was a little different. We know the rules about camping in National Forests, BLM land, etc., but having never been to the place before, we drove in not knowing exactly where we were going to camp.
We knew that there were a few designated camping areas in the Bridger-Teton National Forest, but we weren’t sure if they’d be accessible in winter. The official websites weren’t much help either. Some campsites said they’d be available year round and some were so vague that the only way to find out was to drive to it.
The campsite we wanted to stay at ended up being closed, but there was another area not too far away that was perfectly fine! For planners like me, I think the best course of action is to have a couple of spots in mind and if one is closed, just head to another. Here are a few tips for knowing where you can and cannot camp.
National Forests
- National Forests are much less strict about camping than National Parks. For dispersed camping in National Parks, you oftentimes have to get a permit before you go.
- Dispersed camping (i.e., camping without amenities) is allowed and free in all national forests, unless explicitly forbidden. You can either find places off of main roads, follow forest access roads to remote locations, or backpack to an even more remote location. For winter camping, however, I’d stick to one of the first two where you can have your car/truck by you if needed.
- Don’t expect much from these campsites – they won’t come with full amenities, but oftentimes you will find a fire ring. If you see an area where someone has clearly camped before, try using that spot to minimize impact on the surrounding environment.
- There are actual campgrounds within National Forests as well that usually charge a fee for amenities. However, most of these campground are either closed or free in the winter.
- For more helpful information, here’s a post written by The Dyrt which I found to be extremely helpful!
BLM Land
- BLM Land has a lot of the same rules/freedom as National Forests. There are designated campgrounds that often charge a fee. There are also free, dispersed camping options which are available unless otherwise noted.
- If you choose dispersed camping on BLM land, you can stay for up to 14 continuous days.
- Again, try to find sites that have already been used along paved or unpaved roads to avoid making new disturbances.
- Here is the official BLM Camping page for more information.
National Parks
- Camping in national parks tends to be a bit more tricky regardless of the time of year. Every national park is different, so I’d recommend going to their website and looking under “winter” or “camping” to find the most current info.
- We looked into this for Glacier National Park and it looks like one campground is partially open. Dispersed camping usually requires a permit – even in the winter.
–>Heading to a national park this winter? Here are a few ideas on what to do!<–
Tips for Winter Camping with a Dog

Of course, we had to bring Misha along with us on this trip! He is a husky puppy, so he doesn’t quite have his thick husky fur coat yet. We thought about letting him sleep outside, but with the freezing temperatures and wildlife risk, we had him sleep in the backseat of our truck.
Why not have him sleep in the tent, you ask?
He hated how warm it was in the tent. I’m sure he would have gotten frustrated in the middle of the night and try to chew or dig his way out. There was also the risk of him accidentally hitting or worse, knocking over, the wood burning stove.
So, just know you’re dog and what their temperature preferences are. The truck was perfect for Misha because it was still chilly enough for him to be comfortable, but it protected him against the snow, wind, and wildlife.
My second tip is to make sure you don’t spill ANY of their food on the ground (or your own food, for that matter). This happened to us and we thought we got it all picked up until we heard a coyote munching on kibble in the middle of the night! We were glad we had Misha in the truck when we saw that.
General Tips for Winter Camping
Even though we only camped for two nights, we learned a LOT in those two nights.
- Keep your electronics warm. Don’t leave them in the truck. Don’t even store them along the sides of the tent where it’ll still be cold. Your batteries will die almost instantly and they could be ruined. I had actually thought my laptop battery would come back to life after we got home and I charged it. However, it won’t charge above 1%, so we are having to replace the battery to get my laptop to function properly.
- Bring more wood than you think you’ll need. This one’s worth repeating! If you’ve got the space, bring double the wood that you think you’ll need. It’s so much better to have extra than not enough. I’d recommend 4-5 bundles per night.
- Wear a ton of layers. There will be times when you’re freezing and times when you’ll be so warm you’ll want to sleep in shorts and a tank top. Bring clothes to accommodate everything.
- Hygiene tip: Baby wipes, dry shampoo, and deodorant will be your best friends to keep you feeling clean the entire time you’re camping.
- For your first time, don’t plan to camp too long. This was a mistake we made! We had actually planned on camping 5 nights, but two nights ended up being perfect for our first trip.
I hope this post was helpful for you and inspired you to try out winter camping! It’s an amazing experience and gives you the opportunity to see landscapes that people rarely get to see!


The Comments
Megan
Great post – and, IMHO, baby wipes are a camper’s best friend summer, fall, winter and spring 😉
saraharnstein
> MeganOh for sure! I’m sure they’re even more useful in the warmer months! 😅
Ashlee Fechino
Good tips. Being warm is essential! I love the photo of your dog. Very pretty. I agree with the baby wipes comment above! I actually get the Burt’s Bees Sensitive Wipes 😉
saraharnstein
> Ashlee FechinoThank you so much!!
Jenni / Out in the Nature
Lovely post, I especially enjoyed the video. Thank you for taking us winter camping with you! I’m from Finland and winter camping is common here, but with less gear as people like to hike further from the car. I always have trouble sleeping in cold as my body says: “Don’t fall asleep or you will die!” 😀
saraharnstein
> Jenni / Out in the NatureI’m sure Finland has some incredible camping spots! And same, I have to be somewhat warm or I can’t sleep!
Andi
I love doing anything and going everywhere off-season and that also means winter camping! We camped in the Outer Banks over Thanksgiving weekend and loved being “alone”. We have winter camped in the high desert as well and have froze our butts off many times, but we still love the ability to be away from the crowds.
Daphna
I’m not sure I’m brave enough to try camping in the winter, but you make it seem doable!
Krista
I’ve never actually thought of camping in the winter, but it does seem quite cozy once you’ve got everything set up!
Lita
Wow I’m so impressed with your winter camping skills! Saving all of these tips in mind for later. I would love to camp in the middle of a winter wonderland.
molly
Winter camping can be intimidating but rewarding! Great job going for and it and thanks for the tips!
Jenessa Van Woerkom
This is a beautiful location! Thanks for the tips on keeping warm and safe- a carbon monoxide monitor is a great idea.